Here in Florida, it’s so hot that planting season is almost over. Across much of the United States and into Canada, however, it’s a great time to start a garden. In this article and video, Go Natural Education explains how to plant seeds and get them to grow. Just follow these five basic steps, let nature do its part, and you can enjoy success this summer.
Step 1: Choose the Right Plant Liner
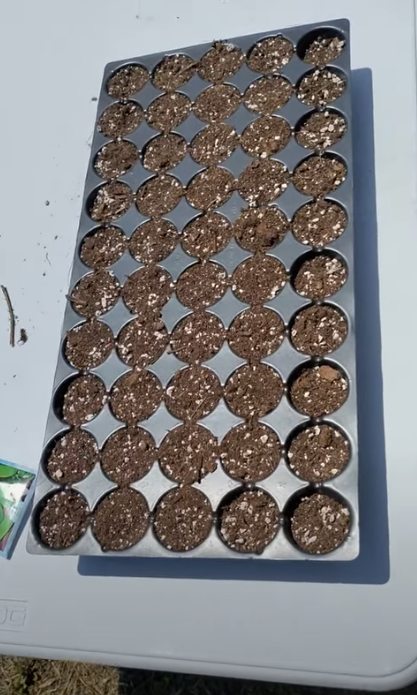
Liner trays, or plant liners, let you start your seedlings all in a row. Like pots and raised beds, they also let you control the growing environment. The liner tray also affords you the opportunity to identify and select the healthiest uniform-sized plants. These thin plastic trays contain compartments for plugs, young plants that are grown from seed and then transplanted. Based on our experience, trays with 50 plugs are best. You can plant a good number of seeds, but you’ll only need to take care of so much soil and watering.
You’ll find that there are liner trays for a greater or lesser number of plugs, but we don’t recommend using them. Trays with 72 plugs put the plants so close together that they compete for sunlight and tend to develop stems that get spindly. With liner trays that contain 35 or 36 plugs, the clot of soil is too big and the root system can fall apart during transplanting.

Step 2: Make a Hole and Don’t Pack It In
Over the years, we’ve noticed that people tend to plant seeds by putting them on the surface of the soil and then pushing the seeds down. This packs the soil and makes what’s underneath the seed harder for the roots to penetrate. That’s a problem when the seed germinates and the root burrows downward in search of moisture and nutrition it encounters resistance from the soil, which typically pushes the seed up and out of the ground.
To avoid this problem, make a hole in the soil for each seed. Typically, the depth of this hole is a quarter-inch; however, the depth may vary with the type of plant. As you’ll see in our video, a twig works just fine as a hole-maker. After you plant your seeds in the holes that you make, gently cover the seeds and water them with a mister setting (but without overwatering, something you’ll learn more about later).

Step 3: Transplant Your Seedlings
When a seed germinates, the plant emerges from the soil and its first leaves unfurl. Typically, there are two leaves to start. You’ll never get 100% germination, but the right soil and environmental conditions can and do help. As the plant grows, so do its leaves, stem, and root system. Eventually, the compartments in your tray liner won’t be big enough. That’s when it’s time to transplant your healthiest seedlings that are of uniform size.
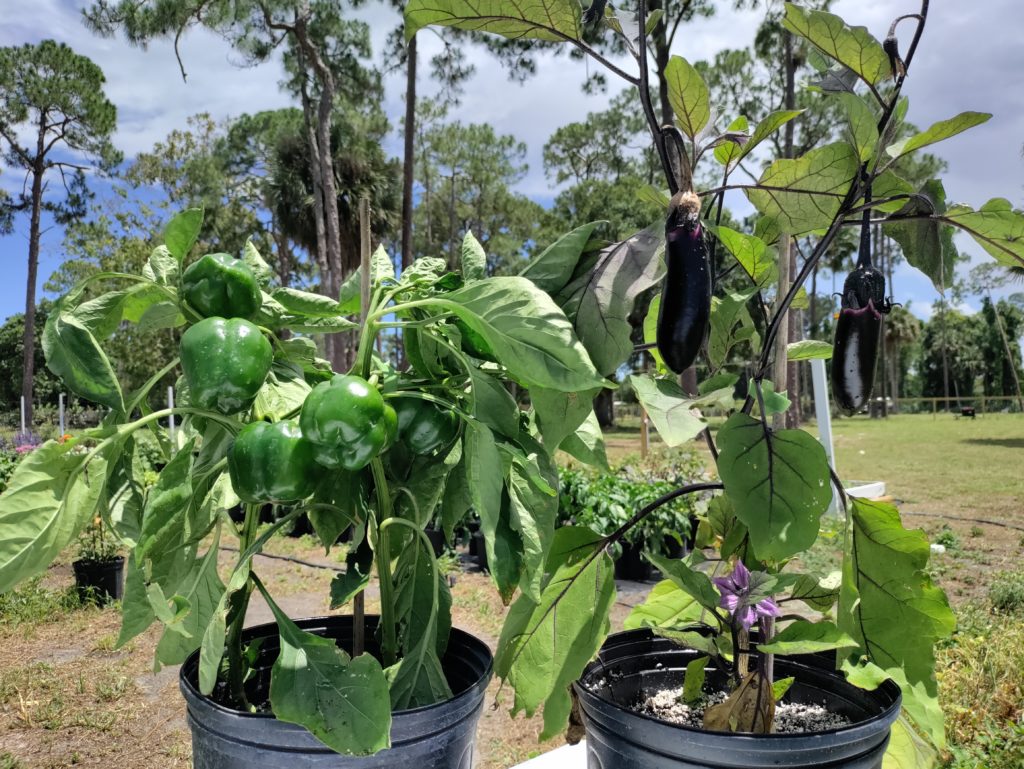
As our video shows, we transplant lettuce seedlings into one gallon pots that people take home so they can pick the leaves and enjoy fresh salads. Later, the pots and soil are returned to us. We also grow nutrition-packed vegetables like these bell peppers and finger eggplants that you’ll see below. To get healthy plants like this, what you do after transplanting your seedlings is especially important.

Step 4: Water Wisely and Use Good Soil
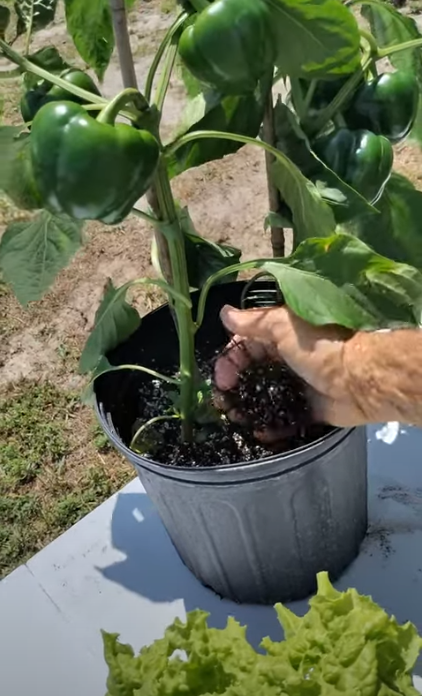
Percolation is the slow movement of water downward through rock or soil. With plants, it’s important to use soil that percolates because too much water can damage the root system. Some water is good (and essential), but more water isn’t necessarily better. Soil that is constantly wet can cause root damage which hinders nutrient and water absorption. Soil-borne fungal diseases, or damping, can also occur.
At Go Natural Education, we use organic peat and amend it with vermiculite as a spacer. Organic peat, or peat moss, is an excellent growing medium for root development. Vermiculite is also a spacer.

Step 5: Stick With It and Watch Your Garden Grow
Gardening, like farming, is something you need to stick with every day. So, remember to stay on top of it. Keep your plants watered properly and, with some nutrition and warmer weather, you’ll be successful this growing season. We hope you’ve enjoyed this article and the video that accompanies it. If you’d like to learn more, check out our recent article called Regenerative Agriculture and Soil Health.